[Fixed] Memory Management Error on Windows 10
Easy Ways to Fix MEMORY MANAGEMENT Error
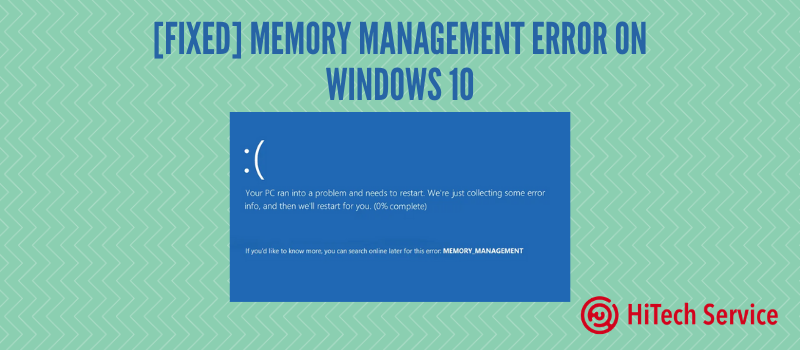
Blue screen memory management error is not a rare occurrence and it may be a complicated issue at the same time. However, the reasons to appear for the blue screen are easily-detected which is crucial for fast problem-solving. This guide details the possible methods to fix the memory management error in Windows 10 and how it can be caused.
Due to the difficulty of determining the causes of the blue screen under the memory management issue for novice users, I recommend starting with simple approaches that may help to find a solution to the problem without resorting to more complex manipulations.
These methods are suitable if Windows 10 starts up and runs for a while, and the blue screen appears later:
- If the MEMORY_MANAGEMENT error appears only when you start a certain game or program, the problem may be caused by this particular program. Also, if the game or program is paid, and you did not quite buy it, then the antivirus also may be the cause. (try starting with the antivirus disabled, including the built-in Windows Defender).
- If you enabled any options for accelerating memory, processor, video card in BIOS / UEFI, or using third-party programs, try disabling them.
- If the memory management blue screen began to appear immediately after a clean installation of Windows 10 on your computer or laptop, the drivers that the system itself installed are not quite suitable. Manually download and install the official drivers from the laptop or motherboard manufacturer’s website (if it’s a PC) – including chipset drivers and other drivers.
- If any third-party antiviruses were installed, they may be the cause of the error. Check if it will manifest itself if you disable or remove this antivirus.
- If you know for sure after the installation of which program the problem appeared, and the program is running in the background (automatically loading with the system), it may be worth uninstalling this program or removing it from Windows 10 startup.
- If the error occurred after a recent system or driver updates, perhaps using some programs to optimize and speed up Windows 10, try using system restore points (Control Panel – Run System Restore).
- If there are no restore points, and you updated some drivers, try to go to the device manager (right-click on the “Start” button – “Device Manager”), select the device whose driver was updated. Open its properties and check on the “Driver” tab availability of the RollBack button.
Unfortunately, the indicated simple approaches to solving the problem are not always effective. In this case, we turn to more complex options for determining the causes of the problem and fixing the error.
MEMORY MANAGEMENT blue screen – looking for the cause and fixing the error
First of all, these are the solutions that ensure you can start the system. If you cannot, we will talk about it later.
Clean boot Windows 10
As a first step, you should try to clean Windows 10 boot without third-party services and programs at startup – this will allow you to find out if any third-party programs are causing the error. To do this, follow these steps:
- Press the Win + R buttons on your keyboard, type msconfig into the Run window and press Enter.
- On the General tab, check Selective Startup and uncheck Load Startup Items.
- Go to the Services tab, check Hide Microsoft services, and then click Disable All.
- It is also advisable to go to the “Startup” tab, go to the startup settings of the task manager and disable all the items (even the necessary ones) there.
- Apply settings and restart your computer.
If after rebooting the memory management error no longer appears, apparently it was caused by one of the startup programs or some third-party service. You can try to enable items one by one until the problem reappears in order to find out what exactly caused it and then make decisions about the possible removal of this third-party software or any other actions.
Driver check
Our blue screen can often be caused by a driver issue. In order to identify a faulty hardware driver, you can use the built-in driver checker utility:
- Restart your computer in Safe Mode. The easiest method to do this is to press the Win + R keys on your keyboard, type msconfig, and press Enter. Then check “Safe Mode” on the “Boot” tab, apply the settings, and restart your computer.
- In safe mode, press Win + R and type verifier to launch the Driver Verifier Manager.
- On the first screen, select Create Custom Parameters (for code developers).
- Next, check all the boxes except “Randomized low resource simulation” and the two items related to DDI compliance.
- Select “Select driver names from the list”.
- Sort the drivers by the Provider column (by clicking on the column heading) and check all drivers except those provided by Microsoft. Click the Finish button.
- If you started safe mode using msconfig, go back (as in the first step) and disable booting in safe mode.
- Reboot.
After that, the following scenarios are possible:
- The system will boot, run for a while, and then a blue screen will appear with the old MEMORY_MANAGEMENT error or a new one, like DRIVER_VERIFIED_DETECTED_VIOLATION with the .sys file name (if the file name is specified, remember or write it down, this is the faulty driver).
- The system will show a blue screen even before booting.
Bugfix if the system won’t start
In the first case, you can simply replace the driver or roll back to the previous version. However, if the system does not start, you need to get 2 failed boots. The advanced recovery options will be available.
You can try here several options:
- Booting in Safe Mode (Boot Options).
- Perform recovery from restore points (item “System Restore”).
- Remove the latest installed Windows updates
And as the last option, you can try resetting the system to its original build.
Hope it was useful. Take care!
- On August 17, 2020
- 0 Comment


