How to run Android apps on Windows or mac
Android OS has now the largest share in mobile devices among other operating systems. There are tons of games and programs designed specifically for Android, but ,sometimes, it’s not very convenient to use Android apps on a mobile device, having too small screen or loosing charge too quickly. Maybe you are in the office and playing on a mobile device distracts you from daily tasks. There is a simple solution to all the above – BlueStacks App Player. With this emulator installed, you can play your games or use apps on your PC or Mac nice and easy.
BlueStacks is a free emulator that looks like an Android tablet that runs directly on your computer desktop. It has convenient and familiar Android design with several workspaces, action panel, settings screen and, of course, Google Play installed. The app developers claim to support almost every game and app that was designed for Android. It can be used both, by ordinary users and Android app developers. It can be a good solution for those who do not have an Android device, but need to use some Android apps – no need to spend extra money. Now that we decided BlueStacks to be a really useful tool, let’s focus on BlueStacks download and installation process.
Download and installation
You can download BlueStacks App player directly from its official website – http://www.bluestacks.com/

The installation itself has nothing outstanding, just an ordinary program installation process. Pay attention that on the second step of the installation process you can change the location where BlueStacks will store its data files. You can set a different drive and/or folder in case you are short on free space on your system drive and plan to install many apps for BlueStacks.
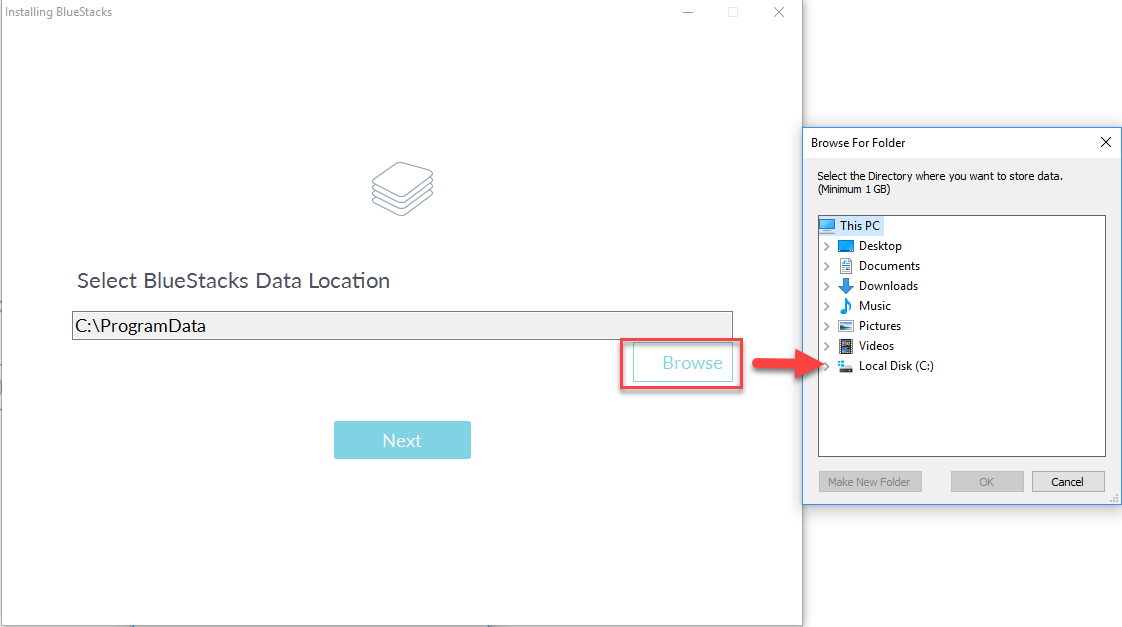
Note that it will take more than 3 GB of disk drive space just after the installation is complete. Why so much space? It generates a virtual drive to store all OS Android files and reserves space for all the apps that you would install later on. There is nothing to change in the rest of the installation process, just hit install in the next step and enjoy the progress bar.
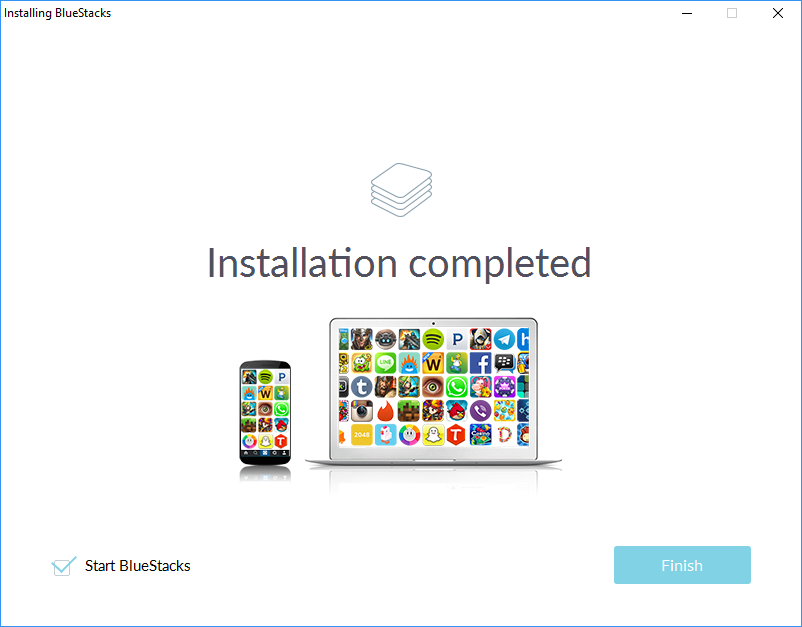
After installation is done, the BlueStacks will start automatically and ask you to sign in with Google account. Create one, if you do not have it.

Then the emulator will finally launch and appear on the screen. Within some simple steps the app will ask you to login to Google again, but already from Android OS. This should be done in order to finish your emulator initial configuration process and link your virtual Android tablet to Google Play services.
What’s inside?
The inside of the emulator is pretty intuitive. There are some apps and games already pre-installed and placed on the desktop of the tablet (the center section). The left section has tools for interacting with your Windows or Mac like file sharing, app installation, text buffer, etc. The top panel is devoted to Android OS configuration options.

All open screens and apps are grouped in tabs in a browser-like manner, that makes it more convenient to work with.
That’s it, now you can install new apps from Play Market and enjoy them directly on your computer.
- On December 13, 2016
- 0 Comment

