How to install Windows 7 with the flash drive
Last week we posted the article about installation of Windows 10 from USB, where we mentioned Windows 7 having different method. We received a few questions about Win 7 installation, apparently not all the users like Windows 10 and want to downgrade to Windows 7. So we decided to give a small step-by-step instruction for old, but bellowed OS – how to create a bootable USB drive with Windows 7. I want to warn you, that this won’t be typical downgrade, but preparation to clean installation, so all the data will be lost.
The main difference between Windows 7 and Windows 10 installation is that you will have to find and download Windows 7 manually, while Windows 10 is downloaded and saved to USB automatically.
First of all you need to download Windows 7 image. Just go to Microsoft website and enter your license key. Once verified, you will be able to download your version of Windows 7 (Home, Professional, etc.).
Now you need to make your USB bootable. Again, this process is fully automated in Windows 10installation, but with Win 7 you will have to download an additional tool – Windows USB/DVD Download Tool
Once downloaded, you will have to install the tool.
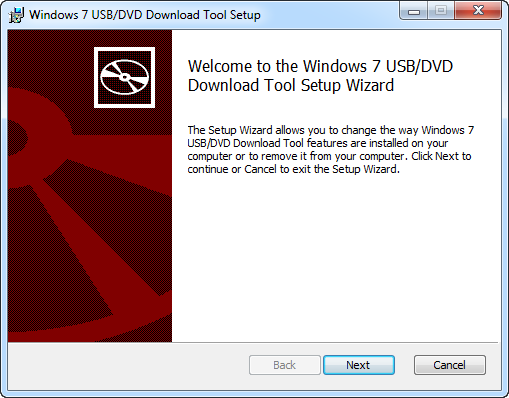
After installation is complete, plug in your USB flash drive (again 4GB or more is recommended), and run the tool.
Creation of bootable USB drive with Windows 7 consists of 4 steps.
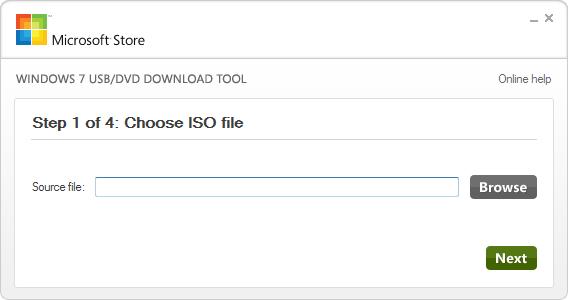
Step 1. Choose the ISO file that we downloaded earlier.
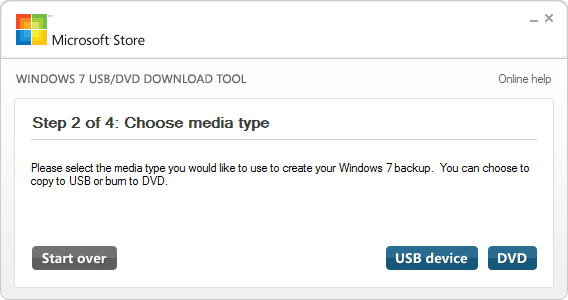
Step 2. Select what you want to create DVD or USB. We are choosing USB.
Select your USB drive from the list.
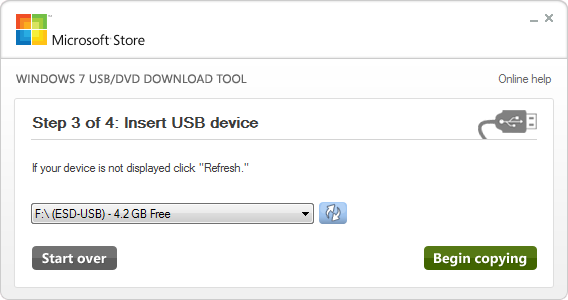
Step 4. Click Begin copying and wait till USB is ready.
Once done, unplug the USB drive with Windows 7 on it, and plug it into the computer where you want to install it. Now turn on the computer and start the installation.
- On February 11, 2016
- 0 Comment

