
How to resize images in bulk using Preview in OS X
However tiny and insignificant OS X’s Preview app may seem, this little guy just delivers. Preview is so functionality-rich that it makes little sense installing any other photo viewers or even editors. This article covers resizing images in bulk using just Preview app.
Let’s say you have compiled an album of photos you want to share with someone via email, but images are 20+ mb in size each, and no email server will send them in one email. Preview comes to rescue! Not only it does the job, but it will save your time with ability to resize images in bulk, not one by one, assuming you are resizing all your images to the same dimensions.
To perform resize in bulk select your pictures in Finder, choose open with Preview app.
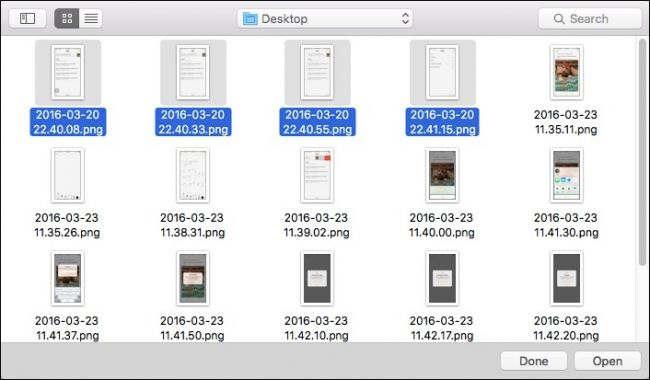
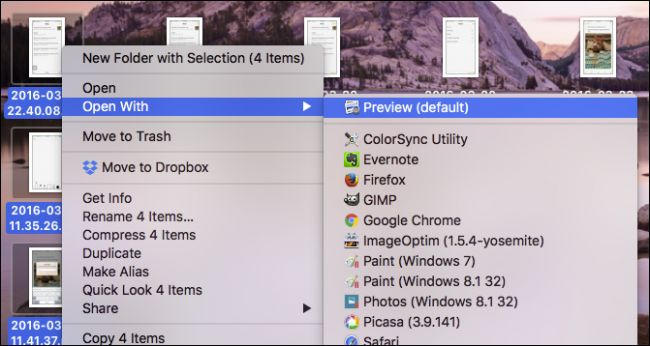
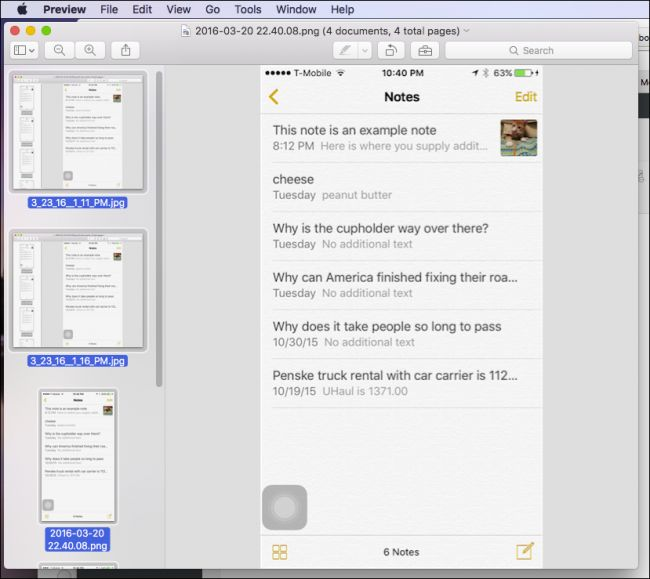
Images will open in the left sidebar of Preview app.
In Preview app go to Edit -> ‘’Select All’’, or use a hotkey Command – A.
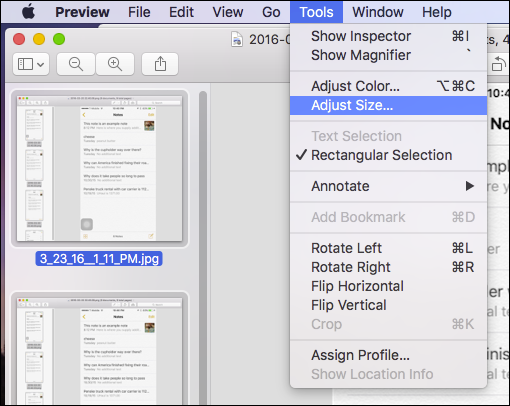
Now go to Tools and select Adjust Size
Select desired dimensions in the next window and click OK
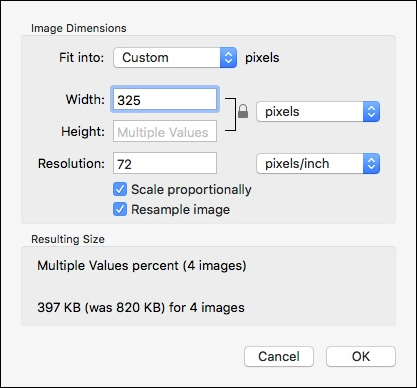
Preview app will resize all the images to the selected destination size. At this point do not be hasty to quit Preview: we need to save changes. Since all files are selected simply go to File – Save, or use a hotkey Command-S. Files are resized and are saved in the original location with old files overwritten.
In fact you can perform this bulk editing with any other editing tools Preview has to offer: rotate, adjust color, and more. Without a doubt editing in bulk is a big time saver for those working with large number of files to be unified.
Stay tuned to hitech-us.hitech.dev/articles for more tips and tricks for OS X or Windows.
- On April 14, 2016
- 0 Comment


